


Are you struggling to manage your inbox messages in Mailchimp? Look no further, as we bring you a comprehensive guide on how to set up, manage, and test your Mailchimp inbox for optimal results.
Setting up Your Mailchimp Inbox
The first step in managing your Mailchimp inbox is to set it up properly. This involves configuring your inbox settings, creating a custom reply-to email address, and selecting the right email template for your messages.
Configuring Inbox Settings
To configure your inbox settings, go to your Mailchimp account dashboard and click on the ""Inbox"" tab. Here, you can choose to enable or disable your inbox, set your inbox display name, and add a custom footer to your inbox messages.
Creating a Custom Reply-to Email Address
By default, Mailchimp uses your account email address as the reply-to address for all your messages. However, you can create a custom reply-to address to make it more personal and professional. To do this, go to your inbox settings and click on ""Customize Your Reply-to Address"". Here, you can enter a custom email address that will be used as the reply-to address for all your messages.
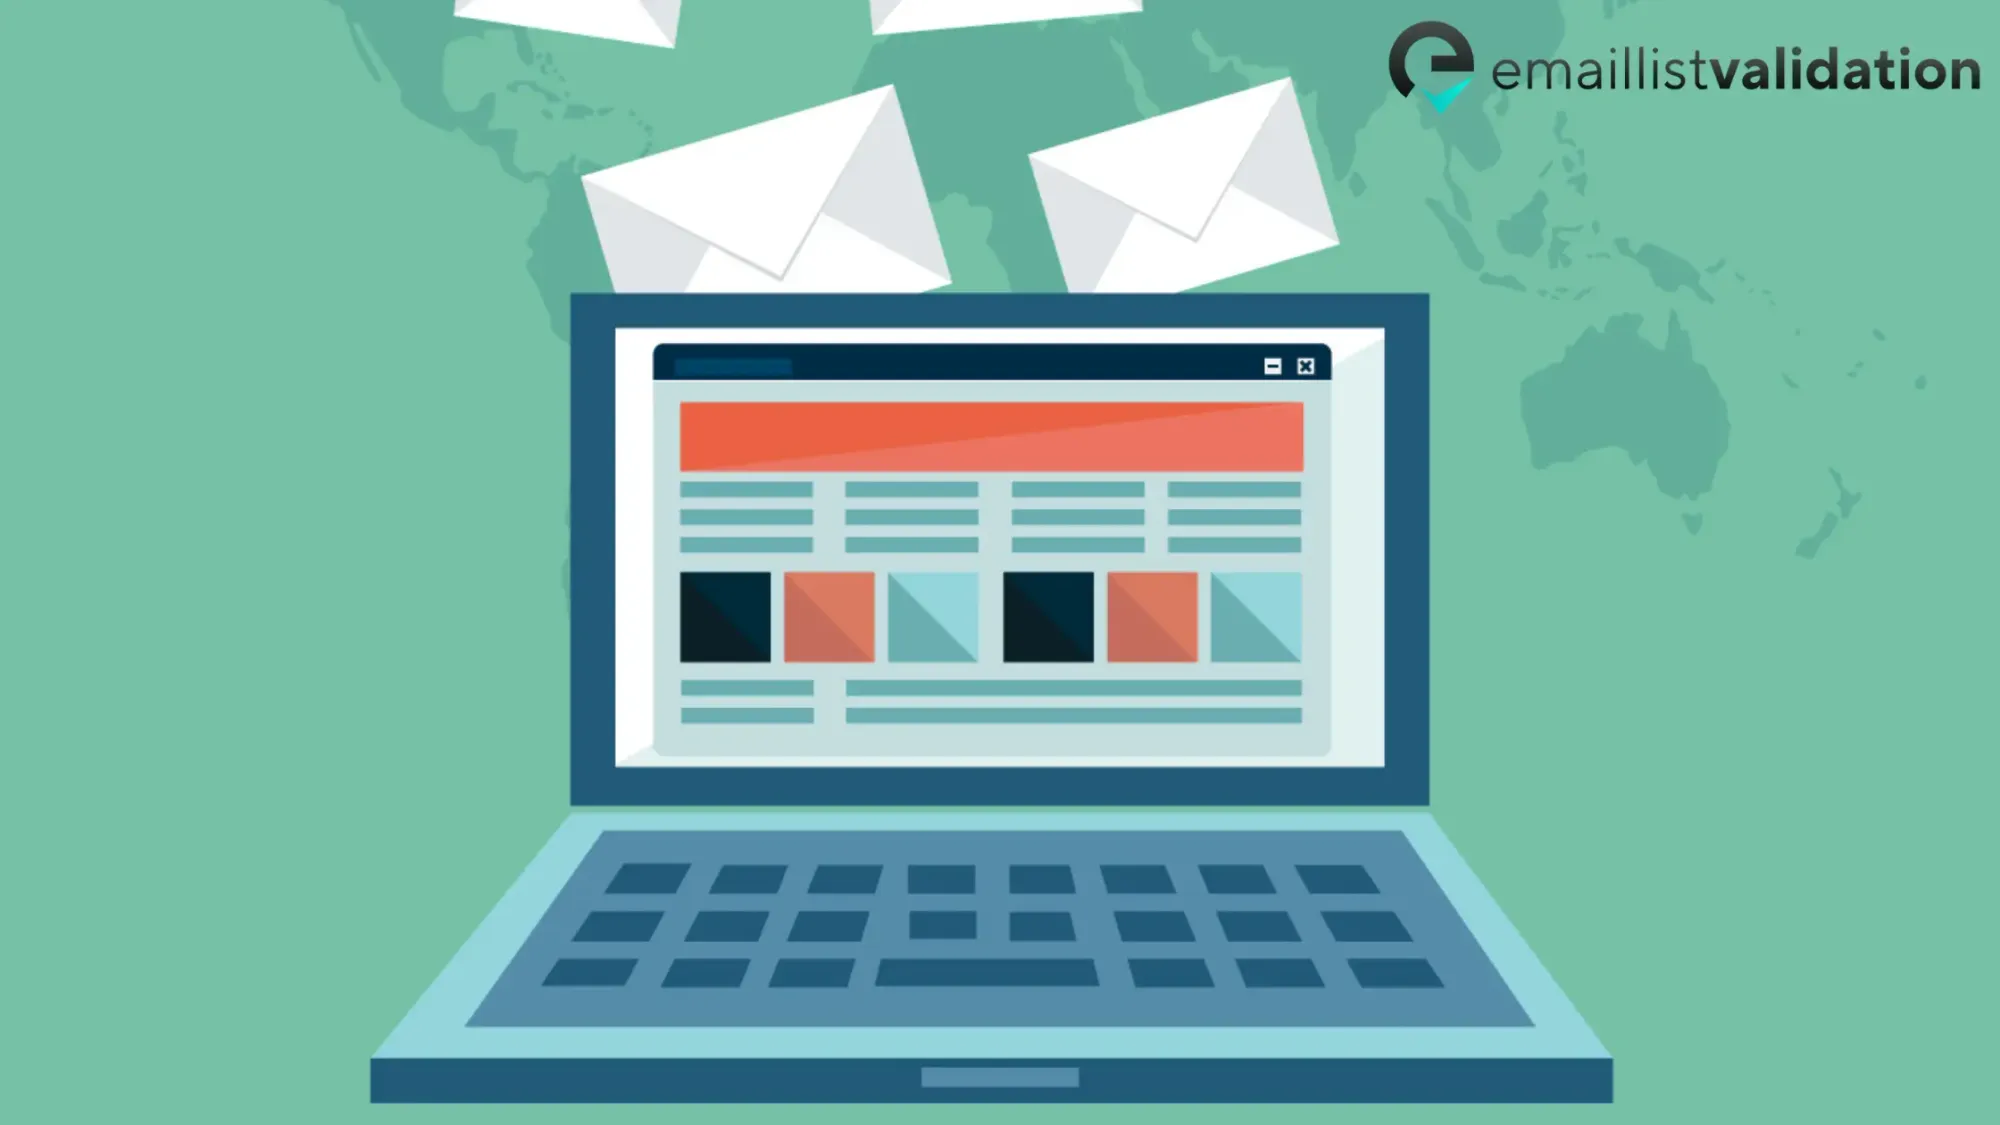
Selecting the Right Email Template
Choosing the right email template is crucial for the success of your inbox messages. Mailchimp offers a wide range of templates to choose from, including newsletter, promotional, and transactional templates. You can also customize your own template using Mailchimp's drag-and-drop editor.
Viewing and Managing Inbox Messages

Once you have set up your Mailchimp inbox, you can start viewing and managing your inbox messages. Here's a quick overview of the main features:
- Inbox Dashboard: This is where you can view all your inbox messages, filter them by date, and search for specific messages.
- Inbox Messages: Each message in your inbox has its own page where you can view the message content, reply to the sender, and archive or delete the message.
- Automation Messages: If you have set up automation workflows in Mailchimp, you can view and manage the messages sent through these workflows in your inbox.
- Collaboration: You can collaborate with your team members or clients by granting them access to your inbox and assigning them specific roles.
Testing Your Inbox Messages
Before sending out your inbox messages to your subscribers, it's important to test them first. Mailchimp offers an inbox preview feature that allows you to see how your messages will look in different email clients and devices.
Using Inbox Preview
To use inbox preview, go to your inbox settings and click on ""Test With Inbox Preview"". Here, you can enter the email addresses you want to send the test messages to, select the email clients and devices you want to preview, and preview your messages.
Interpreting Inbox Preview Results
Once you have previewed your inbox messages, you can interpret the results to identify any issues or errors. Look out for the following:
- Layout Issues: Check if your messages appear correctly on different email clients and devices. Look out for any broken images, incorrect fonts or colors, or misaligned elements.
- Spam Filters: Check if your messages are likely to be flagged as spam by email filters. Look out for any suspicious keywords or phrases, excessive use of capital letters or exclamation marks, or missing unsubscribe links.
- Accessibility: Check if your messages are accessible to subscribers with disabilities. Look out for any images or videos that lack alt-text or captions, or any fonts or colors that are difficult to read.
Conclusion
Managing your Mailchimp inbox can be a daunting task, but with the right tools and strategies, you can achieve great results. Follow the steps outlined in this guide to set up, manage, and test your inbox messages, and watch your engagement and conversion rates soar.